When drawing interiors, whether it's a house, a castle, a dungeon or a ship (even a spaceship) it's always good to be able to draw some walls. This tutorial goes trough a few different ways to draw walls and castles.
If you are going to draw the traditional square rooms the tool of choice
is the rectangle (![]() ).
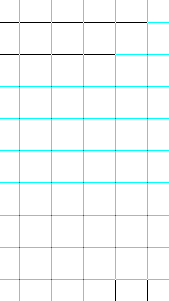
By settings the grid units to 1 under File->Properties in the "Grind
& Snap" tab and turning on grid snap (
).
By settings the grid units to 1 under File->Properties in the "Grind
& Snap" tab and turning on grid snap (![]() )
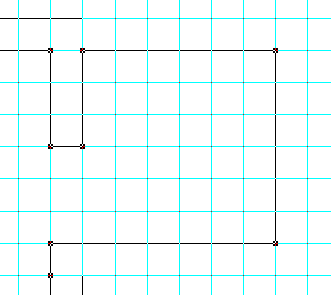
you get your rectangles to line up nicely with the grid lines. For bent
corridors you can use the polyline tool (
)
you get your rectangles to line up nicely with the grid lines. For bent
corridors you can use the polyline tool (![]() ).
We can then quickly create a simple dungeon map.
).
We can then quickly create a simple dungeon map.
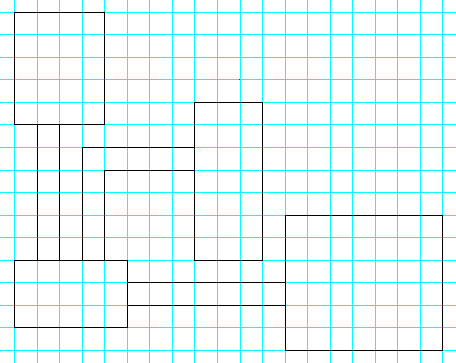
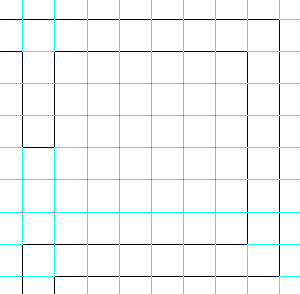
By setting the grid, background and fill colours as well as setting the grid level we can get quite a nice map using this method. Especially if you are drawing a traditional dungeon.
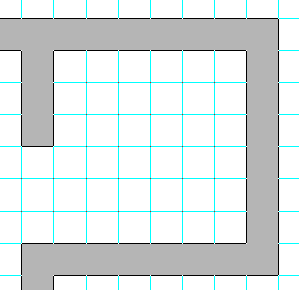
A version of the easy way is to first draw a large black square representing the outline of your house/castle and then fill it with rectangles representing rooms and interconnect them with smaller rectangles for doors and windows.
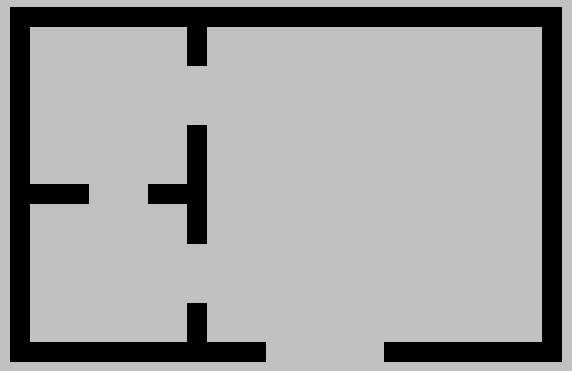
For best result use the same main and fill colour. This way the boxes will not be seen. A drawback of making rooms using this method is that the grid lines either end up under the rooms unless you want to draw grid lines on top of the walls. However if you use the same colour for both the walls and the grid lines you avoid this problem.
A version of this method is to draw the walls instead of the floors. Try both and see which one you prefer.
If you want to draw a room with walls and are willing to put some more effort into it then it's better to use a polyline. It can be quite tricky, but if you do something wrong it's quite easy to fix it later.
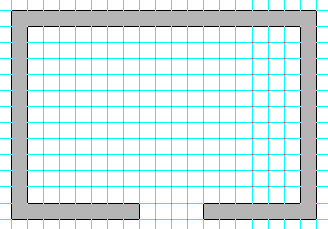
This shows a simple singe room made using a polyline. Now if we wanted
to add an extra room we would have to add an opening to draw the room from
there. For this we use the scalpel tool (![]() )
and then glue it back again (
)
and then glue it back again (![]() ).
This is an advanced technique and when you master it it can be very
useful.
).
This is an advanced technique and when you master it it can be very
useful.
Ok, first hold down Ctrl and place the scalpel over one of the points in the polyline. The pointer will change to show this and click. Now the single point will split into two. If you make too many points you can remove them using the scalpel without holding Ctrl.After cutting move the existing lines to where you want the opening.
Then use lines and/or polylines to build up the new room.
After the new walls have been drawn you use the glue tool (![]() )
to glue the pieces back together. Move the glue pointer over the area
where the lines should be joined. When the bottle turns black you are at
the right place. Click the mouse button and you should glue the pieces
together. When you are done you should be able to see the new area filled.
If not you can try selecting it and then using Transform -> Close
Selected Figures.
)
to glue the pieces back together. Move the glue pointer over the area
where the lines should be joined. When the bottle turns black you are at
the right place. Click the mouse button and you should glue the pieces
together. When you are done you should be able to see the new area filled.
If not you can try selecting it and then using Transform -> Close
Selected Figures.
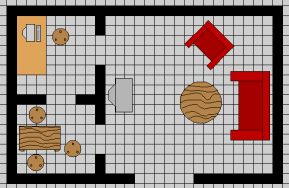
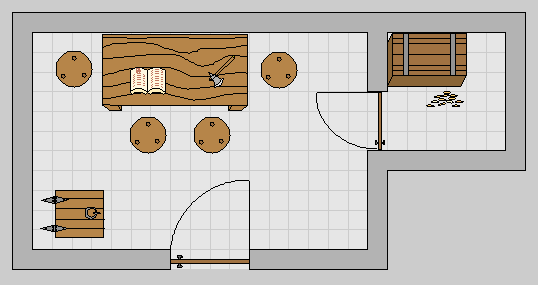
With some extra symbols and a little work (I added a filled polyline floor) we can get a rather nice result.
To make this into a castle will take some work, but with a step at at time it will work.